Learn how to set up your PMU tattoo machine like a pro. Step-by-step guide covering tools, hygiene, setup, and tips for flawless permanent makeup results.
For any professional in the world of permanent makeup (PMU), knowing
how to set up a PMU tattoo machine
is more than a basic skill; it's essential for safety, precision, and client satisfaction. A properly prepared PMU machine ensures smooth operation, good pigment delivery, and most importantly, a sterile environment.
PMU machine setup requires different considerations than traditional tattoo machines. Because PMU procedures focus on delicate facial areas, they need finer control, specific needles, and strict hygiene practices. This guide will walk you through each important step from understanding the machine parts to post-procedure cleaning so you can perform every session with confidence and care.
1. Introduction: Why PMU machine setup matters
The art of permanent makeup requires both skill and deep understanding of your tools. A well-set-up PMU machine helps you deliver consistent results, keep your client comfortable, and maintain a high level of safety. Skipping any part of the setup process can lead to poor hygiene, weak pigment retention, or machine issues. Whether you’re just starting out or refining your routine, this guide will help you master the setup process.
2. Understanding your PMU machine: essential components
Before you begin, it’s important to understand the main parts of your PMU machine. This helps you set it up correctly and solve problems if they come up.
2.1. Types of PMU machines: Rotary vs. Pen
Coil machines are almost never used for PMU because they are heavy, loud, and harder to control. Instead, most artists use these two types:
Rotary machines
: These have a motor that moves the needle in a smooth, steady motion. They are lightweight and low-vibration, making them ideal for facial procedures.
Pen machines
:
These are shaped like pens and are very easy to handle. They use rotary motors as well but have a slim design that makes them great for detailed work like lip blush or hairstrokes. If you’re looking for real-world inspiration, check out
premium PMU services
offered by Hivivi - known for delivering elegant results with top-tier technique.
2.2. Key machine parts
Housing/Frame
: The outer body of the machine that you hold.
Motor
: Powers the needle movement. A strong motor gives smoother results.
Needle Cartridge Slot
: Where you insert the sterile needle cartridge.
RCA or Clip Cord Port
: Where the power cord connects to your machine. This needs to be secure for steady operation.
3. Pre-setup essentials: safety, hygiene, and preparation
Before touching your machine, prepare your space. Cleanliness and safety are the foundation of every PMU session.
3.1. Sterilization first
Since you’re working on facial skin, you must avoid cross-contamination. Always use single-use items, cover your machine with barrier film, and protect your clip cord with sleeves. Disinfect surfaces before and after the procedure.
3.2. Setup supply checklist
Make sure you have all the supplies ready:
Clean PMU machine
Power supply and cord
Foot pedal (if used)
RCA or clip cord
Sterile needle cartridges
PMU pigments in single-use caps
Machine bags, cord sleeves, and surface barriers
Distilled water and rinse caps
Gloves (change often)
Disinfectant wipes or spray
Sharps container for used needles
3.3. Organizing your station
Disinfect all surfaces.
Apply surface barriers after cleaning.
Arrange tools in an easy-to-reach order.
Keep clean items away from used or dirty areas.
4. Assembling your PMU tattoo machine
Once your space is clean and organized, begin setting up the machine.
4.1. Connect power supply and foot pedal
Plug the power supply into an outlet.
Connect the foot pedal (if needed).
Set the voltage 5 to 7 volts is a good starting point for practice skin.
4.2. Attach RCA or clip cord
Plug the cord into your machine securely.
Cover the cord with a sleeve to avoid contamination.
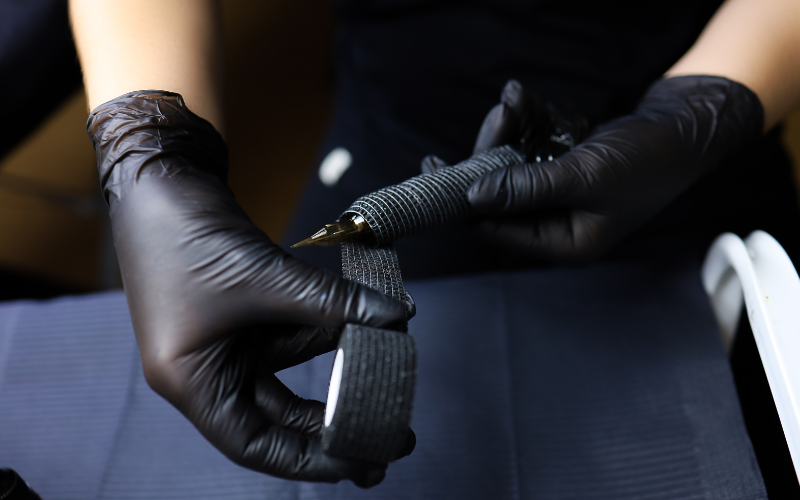
4.3. Load the needle cartridge
Pick the right cartridge (e.g., 1RL, 3RL, 5Mag).
With gloves on, open the blister pack without touching the needle.
Insert it into the machine and lock it in place.
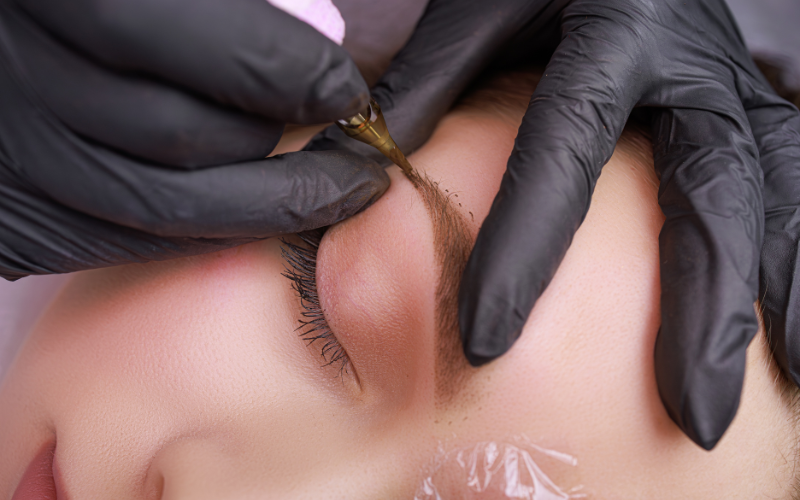
4.4. Adjust needle depth and stroke
Needle depth
: Controls how far the needle comes out. For brows or lips, use shallow depth.
Stroke length
: If adjustable, use shorter strokes for more control.
4.5. Cover your machine
Put the entire machine in a disposable bag.
Make sure the bag fits snugly but doesn’t affect how the machine works.
5. Test your setup
Before starting the procedure, test your setup.
5.1. Turn on and listen
Your machine should hum smoothly.
Grinding or loud noises mean something isn’t right.
5.2. Check needle movement
Watch the needle move in and out.
It should move evenly, without shaking.
5.3. Pigment dip and flow test
Dip the cartridge into pigment.
Tap on practice skin or paper towel to test flow.
If pigment flow is weak, check for clogs or adjust voltage.
6. Aftercare: disassembly and cleaning
Clean-up is just as important as setup.
6.1. Safe disassembly
Remove the cartridge carefully.
Place it in a sharps container immediately.
Unplug all cords.
Take off and dispose of all barriers properly.
6.2. Cleaning the machine
Wipe all surfaces with approved disinfectant.
Never soak the machine in liquid.
6.3. Proper storage
Dry the machine completely.
Store it in a clean case, away from sunlight and moisture.
7. Common PMU machine problems and fixes
Machine not turning on
: Check outlets, cords, and power settings.
Needle not moving
: Make sure the cartridge is seated properly.
Pigment not flowing
: Try a new cartridge or adjust the pigment thickness.
Excess noise or vibration
: Check for loose parts or get the machine serviced.
8. FAQs about PMU machine setup
What voltage should I use?
Start with 5–7 volts on practice skin.
Can I use tattoo needles?
No. Only use PMU-specific cartridges.
What’s the difference between needle depth and stroke?
Depth is how far the needle goes out. Stroke is how far it moves back and forth inside the machine.
Is it safe to share machines?
Only if everything is fully disinfected. Ideally, each artist should have their own.
9. Conclusion: Confidence through preparation
Setting up your PMU machine properly builds both your skill and confidence. From hygiene to power settings, each step matters. The more you practice, the more natural it becomes. Stay committed to safety and quality and your clients will see the difference.